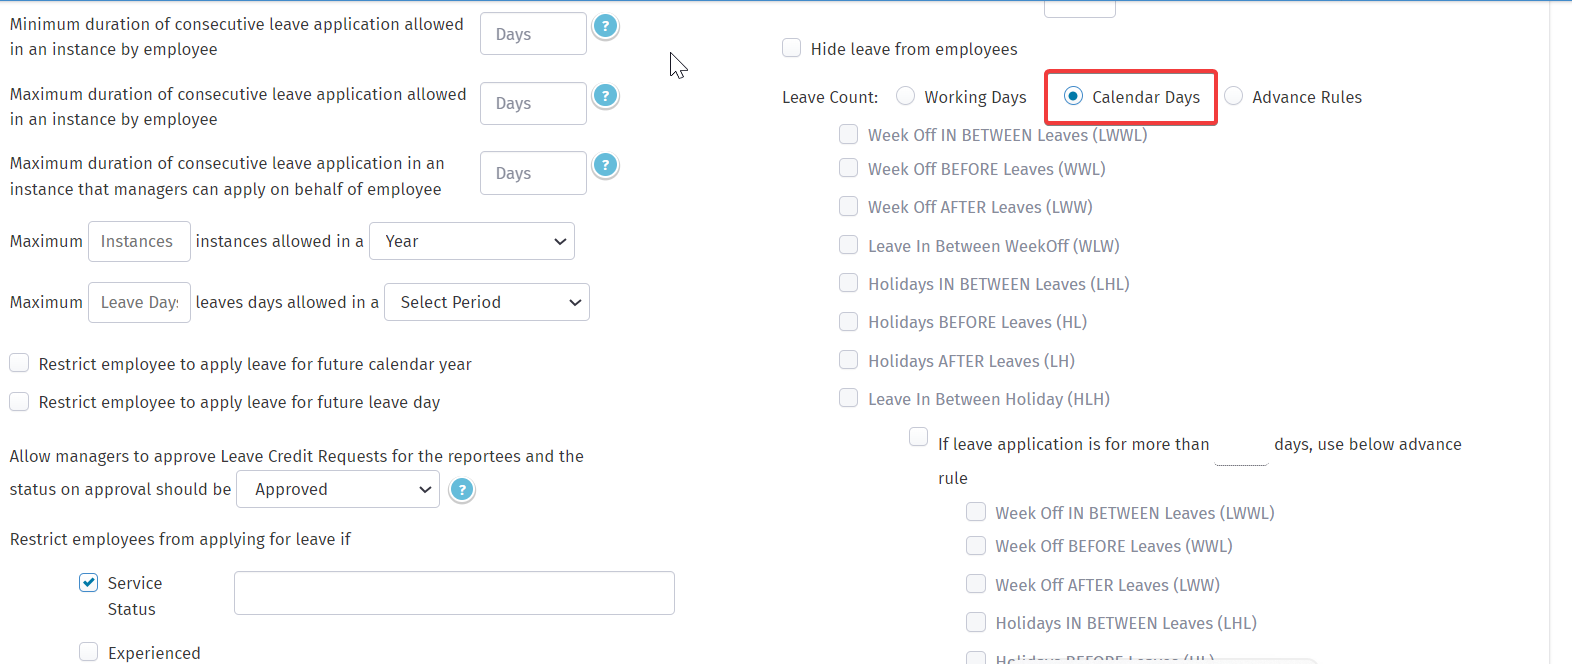
When managing maternity leave policies in your organization, it's essential to ensure that leave calculations align with your company's policies and regulations. One common adjustment is switching from counting maternity leave in working days to calendar days. This change provides clearer and more consistent guidelines for both employees and administrators.
To make this adjustment, follow these simple steps:
- Access the Control Panel: Log in to your company's administrative portal and navigate to the Control Panel section.
- Navigate to Settings: Within the Control Panel, locate and click on the "Settings" tab. This section typically houses various configurations and preferences for your organization's policies.
- Find the Leaves Option: In the Settings menu, look for the "Leaves" or "Leave Management" option. This is where you can customize leave policies, including maternity leave.
- Edit Maternity Leave: Within the Leaves settings, find the option to edit maternity leave parameters. This may be labeled as "Maternity Leave Settings" or similar.
- Change Leave Count to Calendar Days: Once you've accessed the Maternity Leave settings, locate the parameter related to leave counting. There should be an option to specify whether leave is counted in working days or calendar days. Select "Calendar Days" to make the switch.
- Click on Update: After selecting the desired option, don't forget to save your changes. Look for an "Update" or "Save Changes" button and click on it to apply the new setting.

By following these steps, you can easily adjust your organization's maternity leave settings to count leave in calendar days instead of working days. This change can provide clarity and consistency in leave management, ensuring that employees and administrators are on the same page regarding maternity leave entitlements and durations.